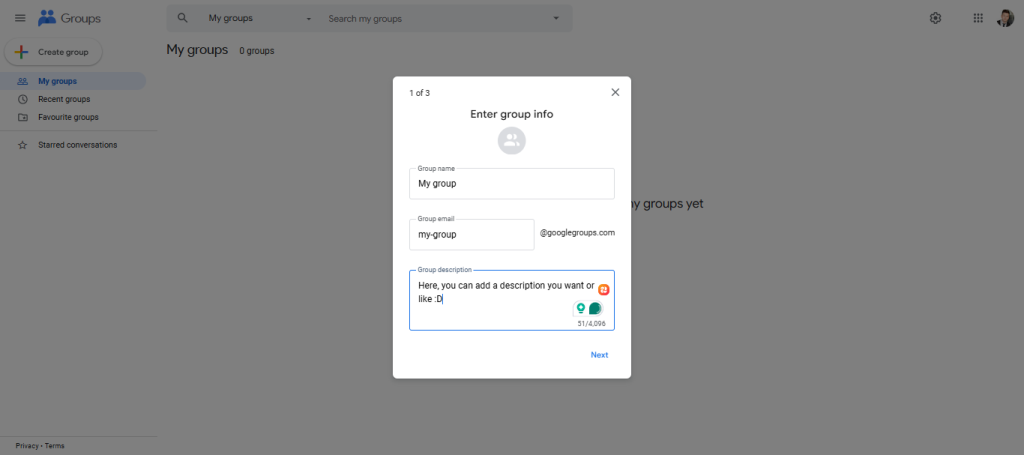
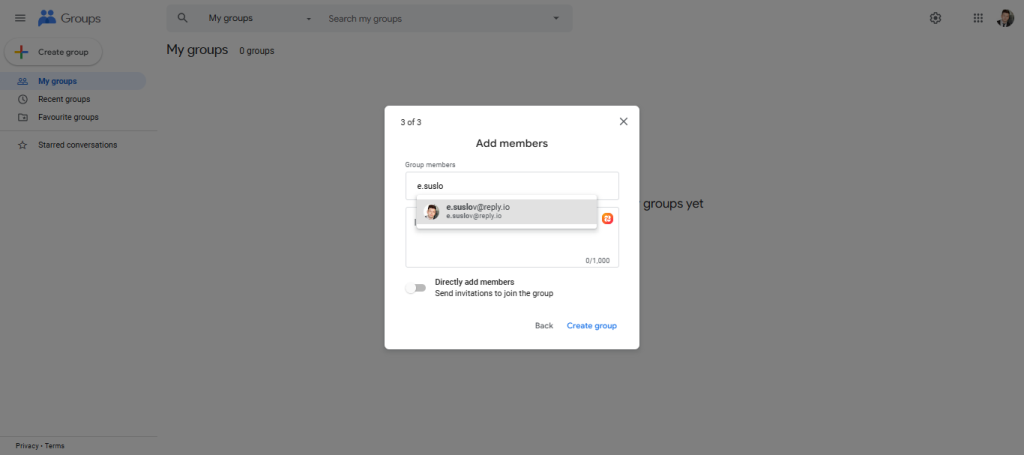
4. Break down your email list
Gmail has strict limits on how many recipients you can email in a day (as we already know—usually 500 for regular accounts and 2,000 for Google Workspace accounts), and per email (you can have up to 100 recipients in one email for free accounts).
If you’re trying to send a bulk email, this can easily trip you up and get your account temporarily restricted. So, the key is to break down your email list into smaller, manageable groups.
Here’s how you can do it:
- If you have a large email list, you probably have it stored in a CSV file or on a cold email outreach platform like Reply (actually, you don’t have to do it when using Reply—just try it). Export this list so that you can manipulate it easily.
- Open the list in a spreadsheet tool like Google Sheets, Excel, or any other spreadsheet app you like. From here, you can sort and divide the contacts.
- Based on Gmail’s limits, divide your list into chunks of no more than 100 recipients per group if you’re on a free Gmail account. If you’re using Google Workspace, you can bump that up to 500 or even 2,000. Just make sure you’re staying under the limit per email.
- Keep your groups labeled—like “Group 1,” “Group 2,” etc.—so you know who you’ve emailed and who’s still waiting. You can even label them based on characteristics (e.g., “VIP clients,” “Subscribers Week 1”). This also makes it easier to keep track in case someone replies.
- When you’re ready to send your email, copy-paste the group’s emails into the BCC field of your email. This way, you protect the privacy of your recipients by hiding their emails from each other. Send each group separately to avoid overloading Gmail.
- If your list is huge, spread your sends across the day or multiple days to avoid triggering Gmail’s daily limits. Keep a timer if necessary, or just use Gmail’s scheduling feature (more on that below).
By breaking down your email list into smaller groups, you’re not only playing by Gmail’s rules, but you’re also lowering the risk of your email ending up in spam folders since a large, sudden batch of emails can look suspicious to spam filters.
And while you’re at it, why not schedule those emails too? It’s like setting your coffee maker the night before—let technology work while you sleep.
5. Schedule your emails
When you’ve got a lot of emails to send, hitting “Send” all at once might seem tempting. But Gmail can get a little touchy when it comes to sending out large batches quickly.
That’s where Gmail’s built-in scheduling tool comes in handy. You can stagger your emails throughout the day or even over several days, which helps you stay under Gmail sending limits and avoid getting flagged.
Here’s how you can take advantage of Gmail’s scheduling feature:
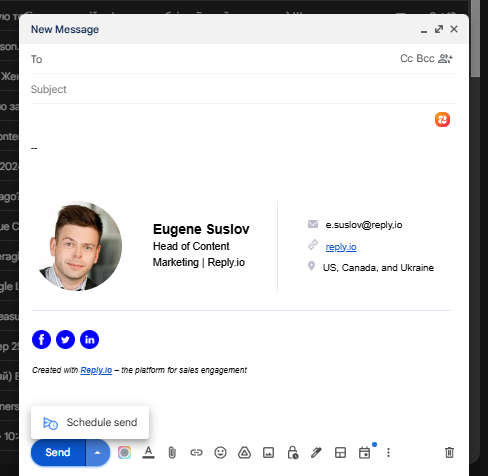
1. Start by writing the email you want to send, just like you normally would. Add your subject line, body text, and any attachments or links. Don’t forget to add the email group (or individual recipients) to the BCC field if you’re doing bulk sending.
2. Instead of hitting “Send,” look for the little dropdown arrow next to the “Send” button at the bottom left of the email composition window. This opens up the scheduling option.
3. Click the “Schedule send” option. Gmail will give you a few suggested times, like “Tomorrow morning” or “This afternoon,” but you can ignore those if they don’t work for you.
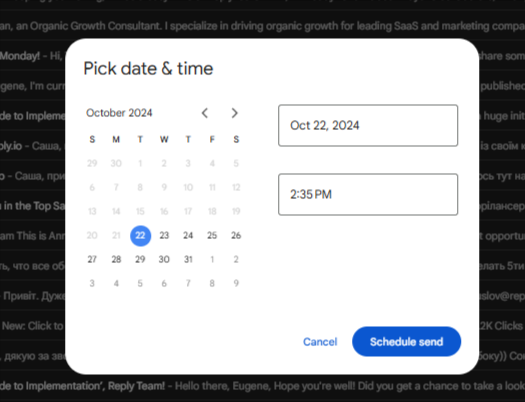
4. To pick your own time, click “Pick date & time” at the bottom of the suggested times. This will open a calendar and clock interface where you can choose exactly when you want your email to go out. You can stagger different batches of emails for different times during the day.
5. If you’re breaking down your email list into smaller groups (like we discussed before), repeat the scheduling process for each group. This way, you can space out the sends and ensure you’re not overloading Gmail’s system or hitting your daily sending cap.
6. Once you’ve scheduled your emails, you can always check what’s coming up in your “Scheduled” folder (you’ll find this on the left-hand sidebar in Gmail). From here, you can edit the emails or reschedule them if you need to adjust anything.
Pro tip: If you’re sending to different time zones, try scheduling your emails to land in people’s inboxes during peak times (like early morning or right after lunch). It increases the chances of them opening it.
Why is this important? When you send a lot of emails all at once, Gmail might slow down your sending or flag you as a potential spammer. But by spreading your emails out over time, Gmail sees that you’re acting more naturally—like a regular human, not a robot firing off mass emails.
Plus, your recipients won’t all be bombarded at the same time, which can improve your open and engagement rates.
Speaking of sleep, keeping an outdated email list is like holding onto old clothes that don’t fit. Clean it up regularly, so you’re only reaching out to people who care.
6. Clean your email list regularly
Maintaining a clean email list is like making sure your car runs smoothly—you need to remove the junk to avoid problems down the road. In the case of Gmail, a clean list helps you dodge spam filters, reduces bounce rates, and keeps you within the good graces of email providers.
Plus, sending emails to people who actually want to engage with your content is much more effective.
Here’s how you can clean your email list, step by step:
- Start by removing invalid or inactive email addresses using tools like ZeroBounce or NeverBounce. Also, consider using Reply.io’s B2B contact database with 100+ millions verified contacts in there. Upload your list (or create it by using Reply), let them analyze it, and get a “clean” version without risky addresses.
- Track who’s actually engaging with your emails. If someone hasn’t opened an email in 6 months to a year, it’s probably time to remove them or try a re-engagement campaign.
- Send a re-engagement email to inactive contacts, asking if they want to stay subscribed. If they don’t respond, it’s time to say goodbye.
- Regularly clean your list—run it through a verification tool every few months and remove inactive users to keep things fresh and improve deliverability.
Why does cleaning your list matter? It boosts deliverability—valid, active emails are way more likely to land in inboxes, not spam folders. Plus, it saves you from wasting your sending limits on bounces or uninterested contacts.
Now, for the techy bit. Set up authentication (SPF, DKIM, DMARC)—basically the bouncers for your emails to prove you’re legit and not some spammy imposter.
7. Authentication (SPF, DKIM, DMARC)
One of the biggest challenges with sending emails—especially bulk emails—is making sure they land in your recipients’ inboxes and not in the spam folder.
To help with this, Gmail and other email providers use email authentication protocols like SPF, DKIM, and DMARC. These act like a digital signature, verifying that the emails you send are actually coming from you and not someone spoofing your domain.
In other words, they help prove that you’re legit. We have a full guide about how to set up email authentication to protect your domain and improve deliverability you can check it here.
Just like a workout, your email needs a warm-up before you go full throttle. Send small batches first to build up your sender reputation.
8. Warm-up
If you’ve just created a new Gmail or Google Workspace account and want to start sending large volumes of emails, don’t hit the ground running too fast.
Jumping straight into sending hundreds or thousands of emails from a fresh account is a big red flag for Gmail, and you could quickly end up restricted or flagged as a spammer.
That’s where warming up your email account comes in—it’s a process that gradually builds up your sending activity, showing Gmail that you’re a legitimate sender, not some spam bot. We’ll continue with a short pause…